This process has been a lot of work with many stages and we've thankfully had a lot of help. I just think I overestimated how quickly we could get this done working mostly on weekends and with a one-year-old (now two) around. I tried to document the process over the past year and apologize for what is mostly grainy iPhone photos. But here we go!
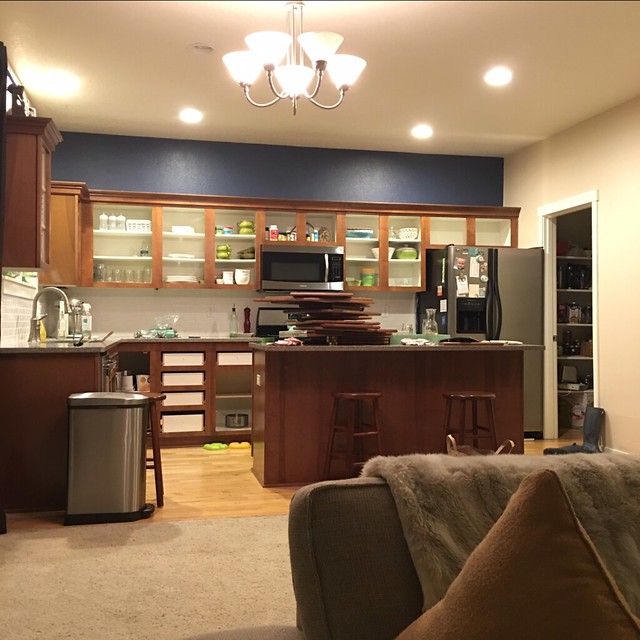
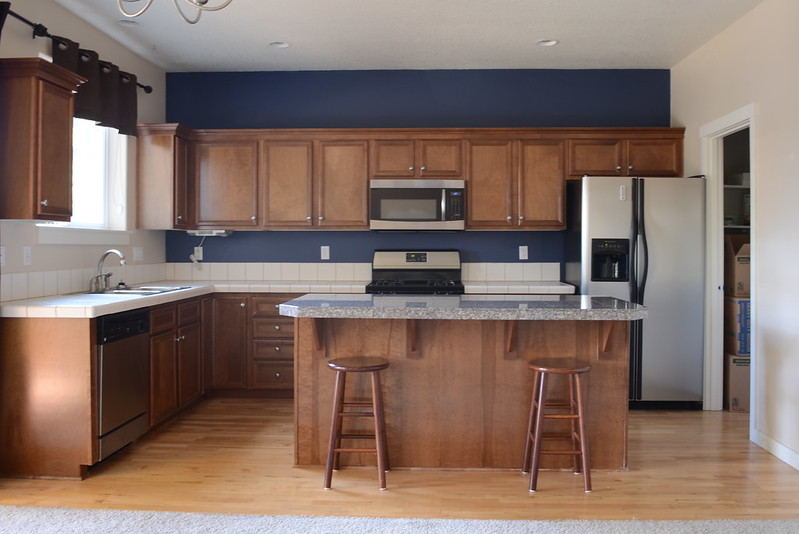
Original Kitchen:
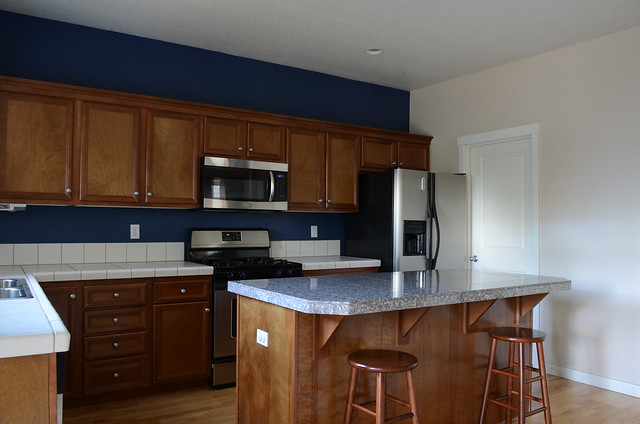
The original kitchen was only 10 years old and in pretty decent shape. But it suffered from dark cabinets and mismatched countertops and the worst paint colors known to man (more on that later). It had a lot of potential -- I love open floor plans and the kitchen had a great layout and a large island. It seemed like the bones of the kitchen were in good shape and it just needed some updating and style changes to be a beautiful space.
Over the past few years, I've come to accept that I have pretty simple (read: boring) taste. I like a lot of neutrals and negative space and tend to favor simplicity over busyness. Many of my friends have eclectic, flea market styles where they can pull together a ton of different pieces and colors and make it work. I'm the kind of person who would rather hang one giant thing on the wall than 10 different tiny things. So my design choices reflect that sort of simplicity. I knew I wanted something monochromatic--some combination of gray or black or white--so either gray or black cabinets and white counters, or white cabinets with gray counters with a neutral backsplash. So nothing particularly interesting. I've come to accept that I genuinely don't like color when I decorate. Or just that black and white are my favorite colors. I don't know what this says about my view of the world, but probably that I am very reasonable.
Countertops:
The original countertops were composed mostly of white porcelain tile that extended into the backsplash, and the island was covered with blue granite tile. I'm not sure the point of the mismatch surfaces except maybe as a way to save money, but the lack of uniformity drove me nuts. Deciding on a new countertop surface was probably our most difficult decision, considering this was going to be our biggest expense.

If you've never ventured into the world of countertops, it's surprisingly complicated. Then again, I just watched an episode of Real Housewives where someone had to choose which ice shapes they wanted their ice maker to create from a giant pyramid of fake ice cubes. So maybe I know nothing about complicated remodel decisions. Regardless, I decided early on durability was most important to me. I cook a lot and I like the freedom of cutting on my counter surfaces and the ability to put hot pots or pans on the counter without worrying about scorching anything. This eliminated some options such as wood, or solid-surface materials like Corian. I love slab granite, but I tend to be a bit messy when I cook, and I was sure I would spill a giant vat of oily spaghetti sauce all over the beautiful slab granite and it would absorb into the porous material in a bizarre irreversible pattern. Plus I don't like the idea of resealing or any kind of continued maintenance. Laminate has made some big strides in recent years but it's not my favorite and depending on the edge finish, can become surprisingly expensive. I didn't think concrete was the right look for our kitchen and I was too cheap for some of the finer surfaces like marble or soapstone. For all these reasons, the best fit for us seemed to be engineered slab quartz. And I must say, 6 months or so into having it, I absolutely love it. It's virtually indestructible, requires no upkeep, and it's beautiful. We went with a lighter gray Q-quartz option called Alpine.
Before you can have new countertops though, you have to destroy the old ones!
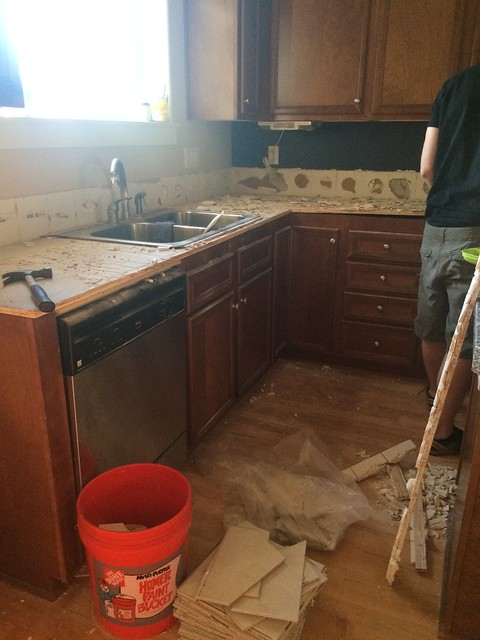
(From this point on, dust became a mainstay in my life)
Here we are doing some demo on the granite tile. The granite is quite heavy, so it's convenient we were replacing the floors because the large pieces of granite that fell did serious damage to the existing hardwood and were not conducive to trying to keep your child asleep.

This type of slab quartz had to be professionally fabricated and installed, so they took several measurements and installed the countertops with one very small seam at the kitchen sink, and voila!
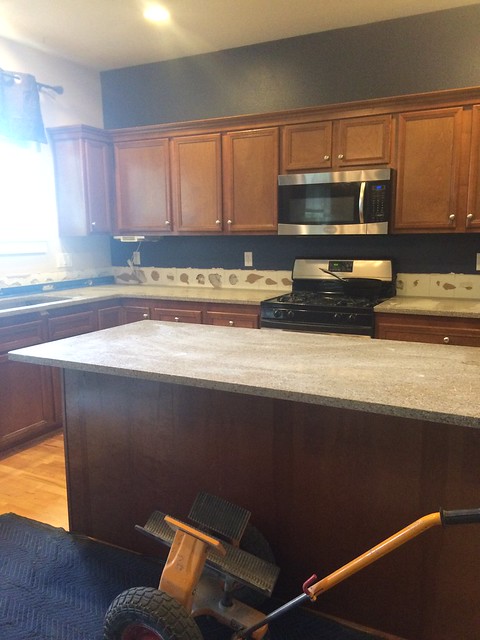
(newly installed -- I get this seems unimpressive at this point.)
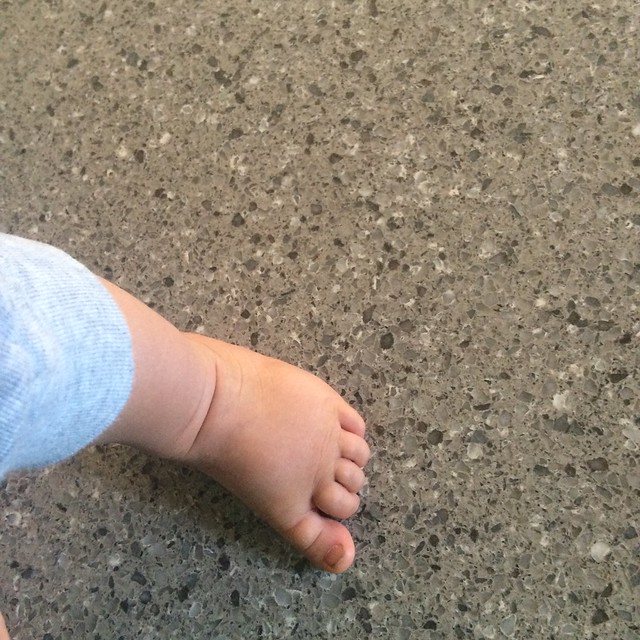
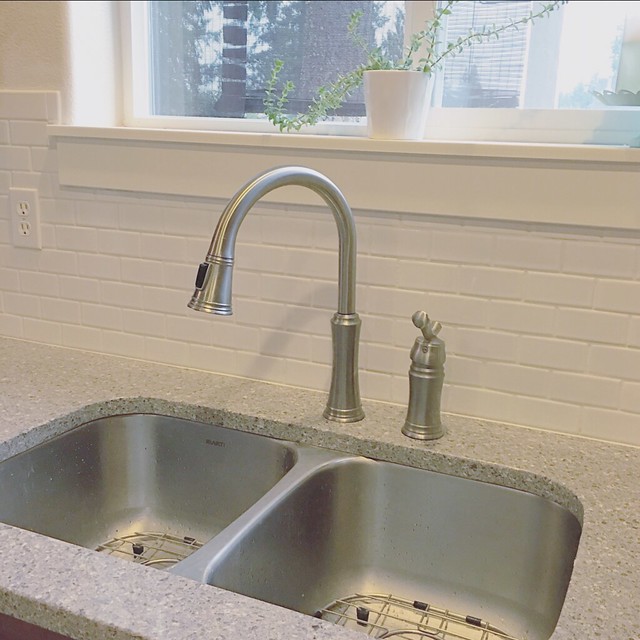
But here's the new countertops up close with a baby foot for artistic measure:
Backsplash:
The next step was to repair the drywall damage caused by removing glued porcelain tile from the wall and then select a backsplash. Subway tile seemed like a sleek and timeless option, not to mention the cost was minimal. We went back and forth between gray or white grout, and ultimately decided on white. For a very brief period of time I entertained the idea of doing colored glass tile...like a seafoam green or something very interesting. Then I accepted I was not interesting and moved on with my boring white tile and white grout.
We found a mosaic tile we liked from Home Depot, and thanks to a manufacturing error, ended up with a million extra boxes. I think it went something like, I needed 3 boxes with 11 pieces each for a total of 33 pieces. And they sent me 33 boxes of 11 pieces each for a total of 363 pieces. But they were on the right track with the numbers 33 and 11, so...close. Home Depot was eager to get rid of what they could since it wasn't their error, so they gave me as many boxes as would fit in my car. So maybe there's a subway tile shower in our future.
We also ordered a new double bowl stainless steel sink and faucet to replace the older one. Andrew did most of the tile and grout installation, but let the record show I did in fact do some grout work. This makes me feel important and handy.
Painting:
There were a couple big paint choices. We needed to paint our downstairs walls and we needed to paint our cabinets. This might seem simple enough, but bear in mind that our kitchen and living room had been painted some of the worst colors in existence.
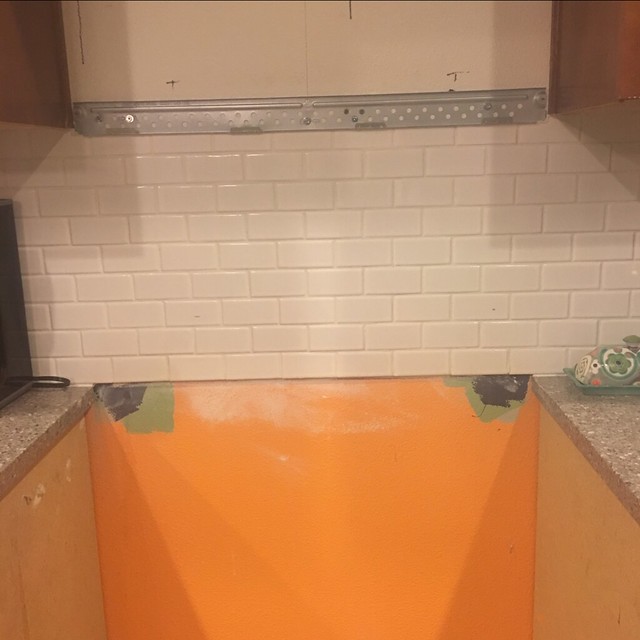
I don't know in what world a pumpkin orange kitchen ever "works," but I'm going to go out on a limb and say no world ever. Even though the top of the kitchen was currently a dark blue, whoever painted the house previously had clearly changed paint colors quite often and wasn't eager to do the next job very well. So there were remnants of orange and green and red and blue throughout the kitchen and living space.
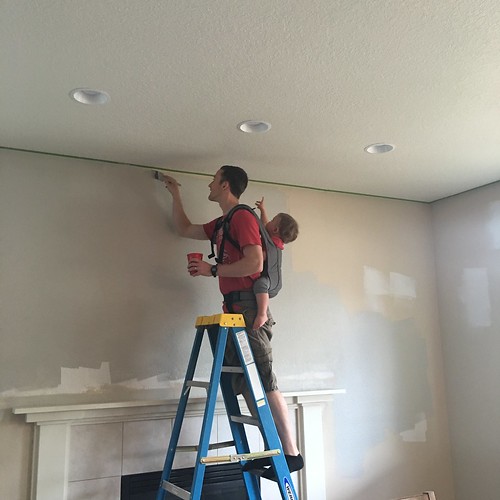
We decided on Sherwin Williams Light French Gray for the walls, which was no small feat. Did you know there are a billion gray colors? And that according to the paint specialist, they can "flash" purple or brown or any myriad of other non-gray colors? Turns out choosing a gray is about as complicated a color choice as they come. Not to mention we had to exercise some painting creativity with a two-foot monster around.
We decided to paint the kitchen cabinets white. And wouldn't you know, white isn't as simple as you would think either. There's Extra White and Pure White and Super White...and on and on. I decided to just ask for whatever white came in the can, as in the color that was completely untouched by a different type of dye to make it "white."
Little did I know, this was just the beginning of my kitchen cabinet nightmare.
Ahhh the kitchen cabinets. The absolute worst project I have ever done in my whole life. The only project I cried about. The only project I will never get over, much in the same way I will never get over that time Dobby the House Elf died.
People had warned us about painting cabinets. I had read it was one of the hardest painting projects and a massive undertaking. But I also read a lot of flighty Pinterest posts about how it was totally doable and cost effective and capable of greatly altering the aesthetic of your kitchen.
So I did a whole lot more reading and watched tutorials and decided I would take this project on by myself since Andrew had done so much other work.
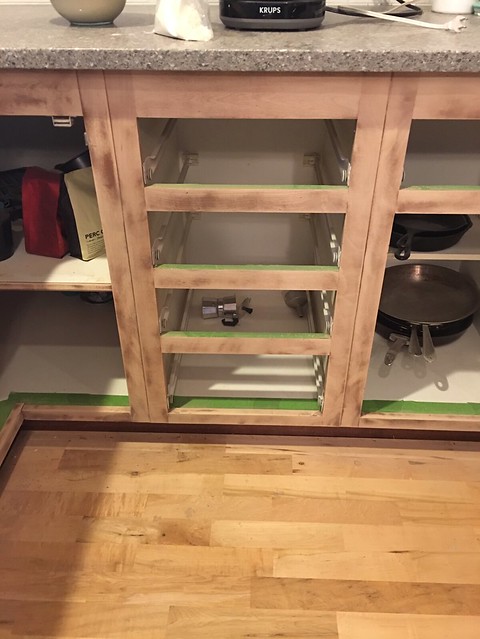
The first step was to remove all the cabinets and label them with painter's tape and dismantle the hardware.
The second step was to do nothing for about a month because I had an 18-month-old and decided I could just pretend I actually had open shelving in my kitchen and I genuinely like open shelving.
Then I finally motivated myself to start working during Benjamin's naptime and resigned myself to being covered in dust for the next few weeks. I had to sand the cabinets and the frames and we decided to caulk to the inside panels of all the drawers, which was surprisingly time-consuming.
Answer to Andrew's question about why it was taking me so long to finish this project:

Because a baby in a groutfit [all grey outfit] is pretty much always around.
Then, as I still try to convince Andrew, I did A LOT of research on the best method for painting cabinets. I still reject any of these posts I read about just painting over the top of cabinets or somehow painting them while they're still on their hinges. I knew we wanted a pretty flawless look, and people seemed to suggest this was achievable by using high-quality paint and primer and by being careful to sand after each coat. So I set about doing just that.
And basically none of that proved true for me.
(here I am thinking it's a good idea to let paper dry to the back of painted cabinets)

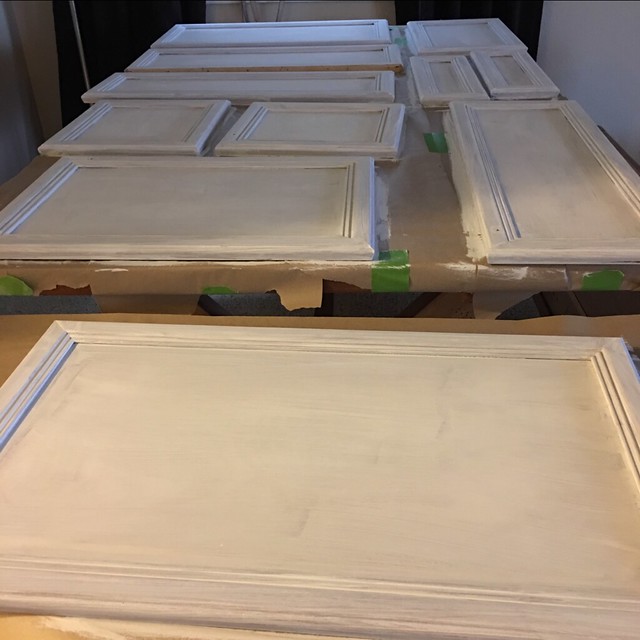
(new strategy--put them up against cardboard)
Long story long, after two weeks of painting, rolling, buying the most expensive brushes known to man, sanding and then resanding with the finest grit sandpaper forged in the Arabian desert, we decided the cabinets just weren't good enough. We have quite a few cabinets in our kitchen with large faces and we really wanted the doors to appear completely smooth and flawless. And no matter how we tried, brush strokes were still slightly visible. So we did the only reasonable thing at that time. WE STARTED OVER. As in we resanded layers and layers of paint and weeks of work back down to the grain. I still can't quite accept that we did this. Mostly because I had put in all the preliminary work and felt like I total failure. But it seemed like the only way we could achieve the look we wanted was to spray the cabinets...or to have never tried to do this project in the first place and just agreed to pay someone a million dollars to take care of it. Because I can't stress this enough...this project was the WORST.
If anyone is thinking about painting their kitchen cabinets, my advice is usually to just stop thinking that.
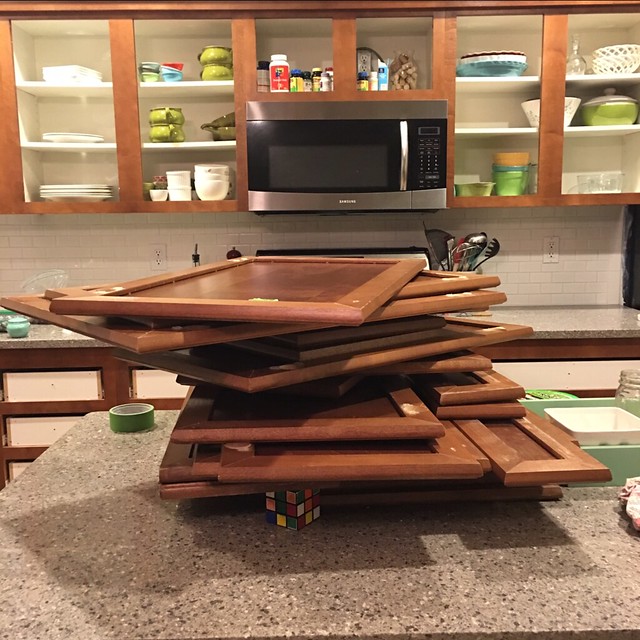
Add to that the fact that once we had finally finished sanding and priming and painting the doors, we coated them with several layers of polyurethane and didn't read that they needed 7 days to fully cure and then we stacked all the cabinets on top of each other because we needed space in the garage and then they were all stuck together and the only way to remove them meant the paint would be stripped where they were stuck together and basically I have no good feelings towards any part of this process.
The day those cabinets were finally reinstalled was the day music and happiness returned to my world.
Floors:
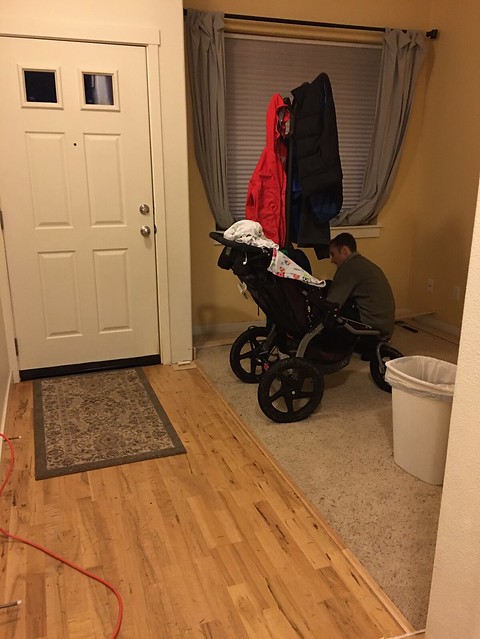
After we finished the countertops, the backsplash, and the cabinets, we needed to replace all the downstairs flooring. We have an open floor plan and the existing flooring was a random combination of light-colored hardwood floors and carpet. But the different flooring really took away from the flow of the open floor plan. Uniform flooring would allow us to stage the downstairs however we wanted and unite the feeling of the living spaces.
Here's Andrew removing the baseboards and an example of the variety of flooring in the front entryway that repeated throughout the rest of the house:
Thankfully for us, my brother and sister-in-law are bad mamma jammas and were willing to spend several of their weekends helping us demo our floors and install new ones (*cue slow clap*).
I will reward you guys by including you in some of these low-quality photos:
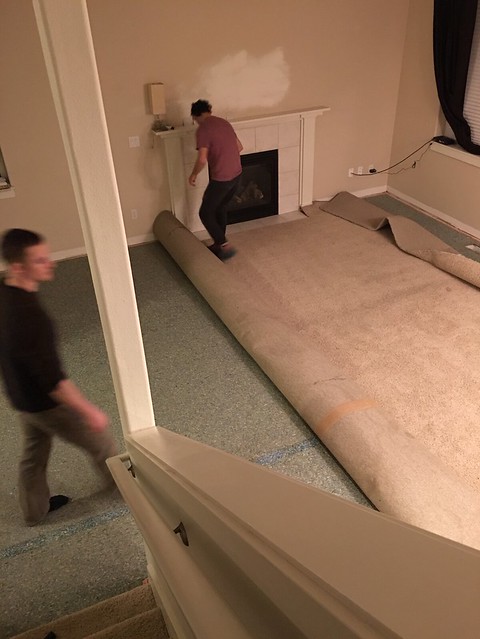
(preparing the living room floor)
Laminate became our flooring material of choice after witnessing Benjamin slam as many random objects as possible into the floor as a form of play. We obviously liked the idea of hardwood but were worried about how well it would hold up in the long run under the feet of (possibly) multiple children. Engineered hardwood was a good option for us, but was a bit beyond our budget. In the end, we decided on a higher grade dark Pergo laminate flooring with an AC-4 rating, and we've been very pleased with it.
Installation was relatively easy, but then again, I didn't do any of the installation work. So from the standpoint of someone occasionally watching, it seemed simple enough.
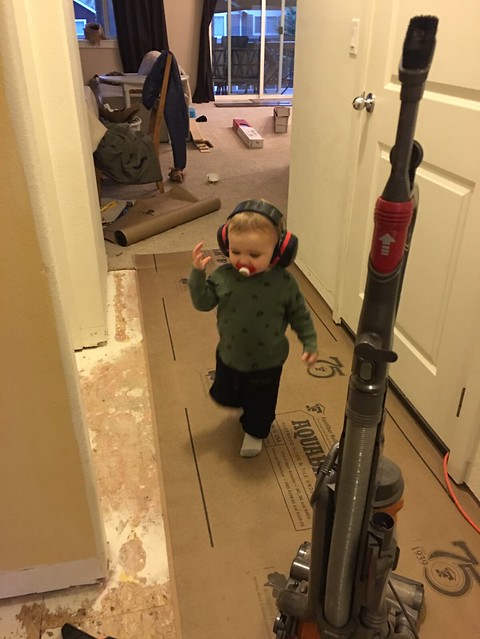
Benjamin was also very into this process of the remodel. He liked that there was a lot of hammering and banging and earmuff wearing.

We completed the downstairs flooring in three stages, and I use the term "we" loosely, of course.
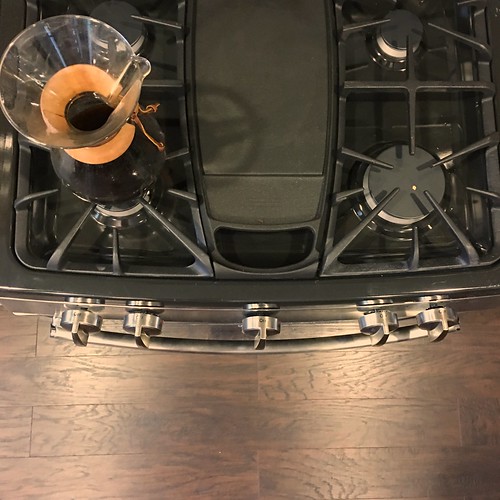
Here's the new flooring underfoot the newly installed oven, representing when life started to feel more normal again.
And obviously we needed someone to clean the new flooring.
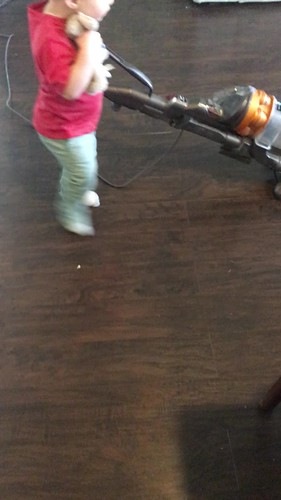
"If a man does not work, he should not eat."
Other Things:
We replaced the hardware on the doors with pulls instead of knobs because I don't even know at this point.
And we replaced several of the appliances, including the dishwasher and oven, which were looking a bit worse for the wear.
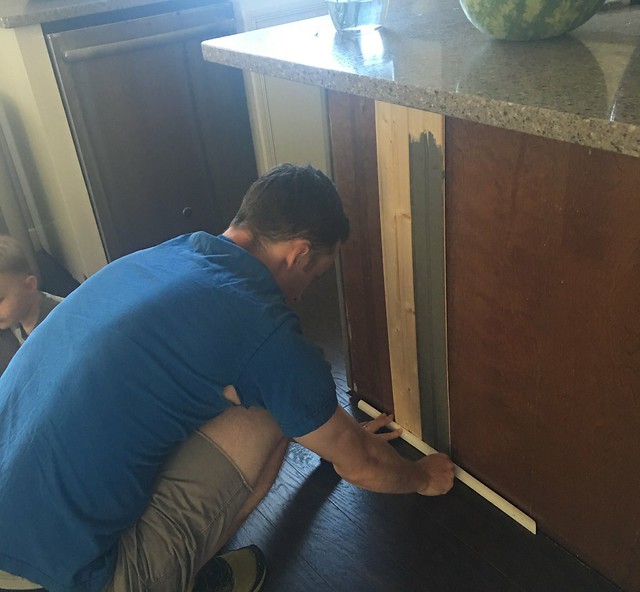
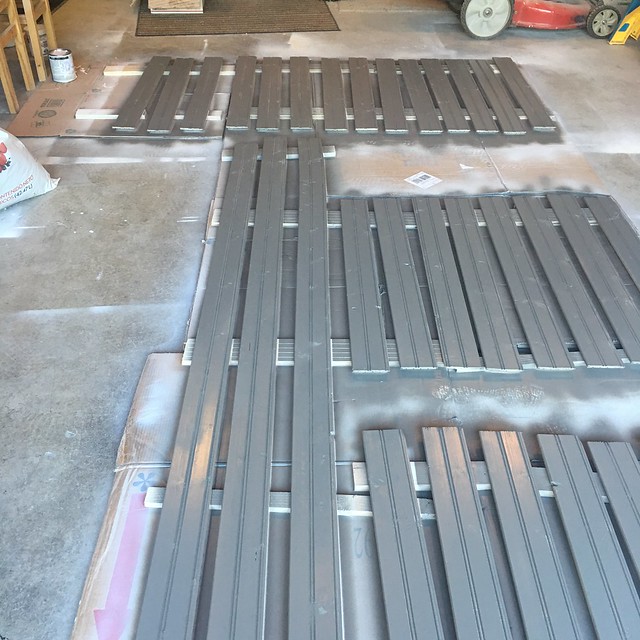
We also decided to wainscot the island and painted those pieces Sherwin Williams Gauntlet Gray, being sure to spray them the first time around because we can in fact learn from our grave mistakes.
So all that is to say, one year later, we're mostly finished.
Before:
After:
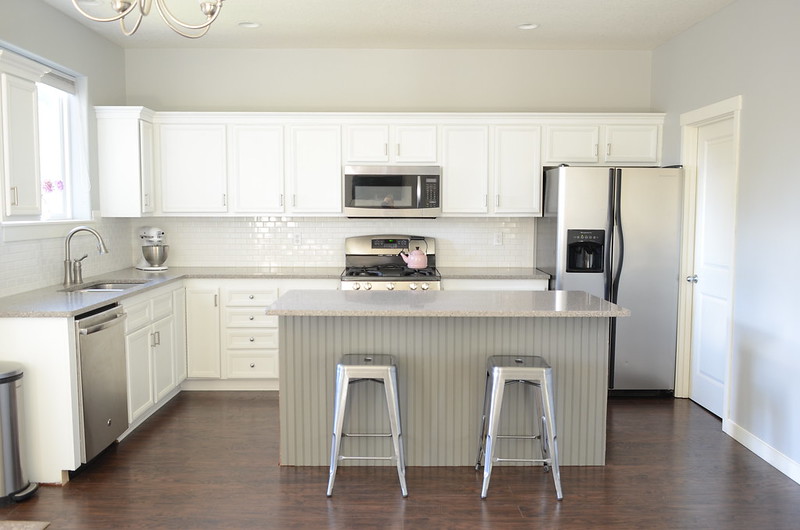
We're missing some finishing pieces on the island and some other work that's not helpful to point out, but I'm so glad to be on the other side of this project. We created a space that's functional and pretty, even if it is a bit boring.
And overall, we're very pleased with it.
May all your remodel projects be swifter than ours and may you never have to paint your own kitchen cabinets!

6 comments:
Omg love it. Love it so much I logged into this very inconvenient way of communicating to say what is already known. Love it
And since I don't know if this will say my name, I am the said house elf who helped you throughout this process and then was tossed away to the dirty flat Midwest
Elizabeth -- I appreciate you venturing into this archaic form of communicating. Not mentioned of course, is the million other things you and Jonathan did to help. Brava!
Man alive, that blog left me tired! What a lot of work you and Andrew have done during the last year to totally revamp your kitchen. May it serve you four well for many years.
Rich
Amazing! At least it turned out beautiful, even if it did almost kill you. And tell E&J (and B) that they're welcome to help me with projects anytime. --Karyn
There is nothing wrong with wanting a simple style over a busy one. You are the one using the kitchen every day, so it is only natural to choose a style that appeals to you. I think slab quartz is a great choice for your kitchen. I would definitely use the extra pieces of subway tile in your bathroom. You can put them to use and save money on another remodeling project.
So I am looking at your "before" kitchen thinking, "That's pretty decent already." And I see all the work it took, and the time... but the after picture is amazing. So, yeah, it was probably worth it all. It just looks warm and inviting. (Cute little one by the way.)
Post a Comment